SOLIDWORKS Installation Process
Here's a guide to get Solidworks installed/updated:
1. Copy Settings / Uninstall SOLIDWORKS#
Note: If you do not have a previous version of SOLIDWORKS installed on your computer, you may skip this part.
Copy Settings#
- Launch your currently installed version of Solidworks
- Click on the settings drop-down

- Click “Save/Restore Settings…”
- Select “Save Settings”
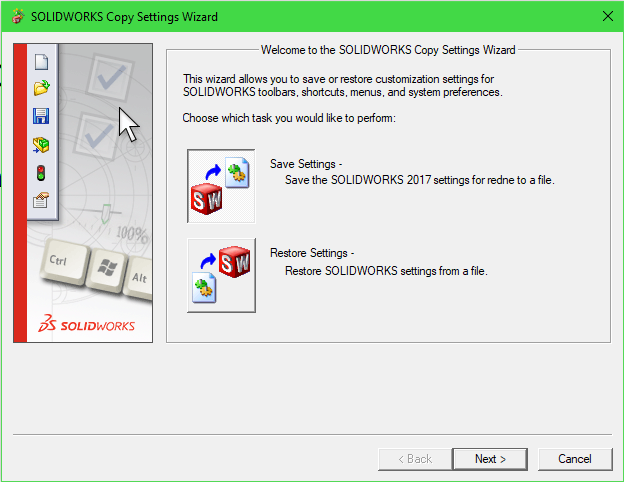
- Click “Next >”
- Select a file path for the settings file. Put it in a place where you will be able to easily find it. Specify the filename as “my_swSettings.sldreg”
- Make sure all boxes are checked, and “All toolbars” under “Toolbar layout” is selected.
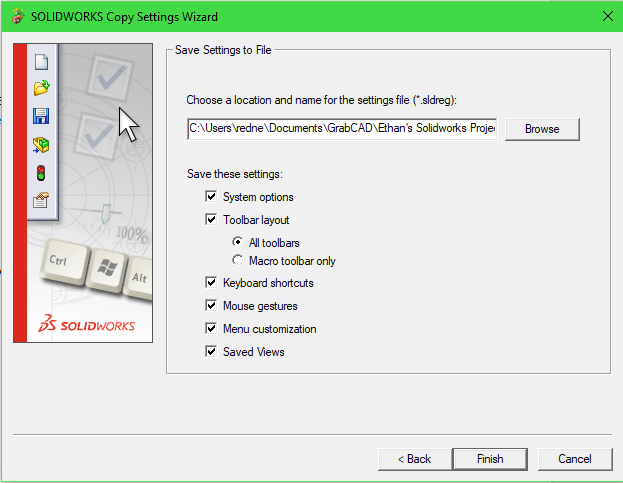
- Click “Finish”
- Close SW
Uninstall SOLIDWORKS#
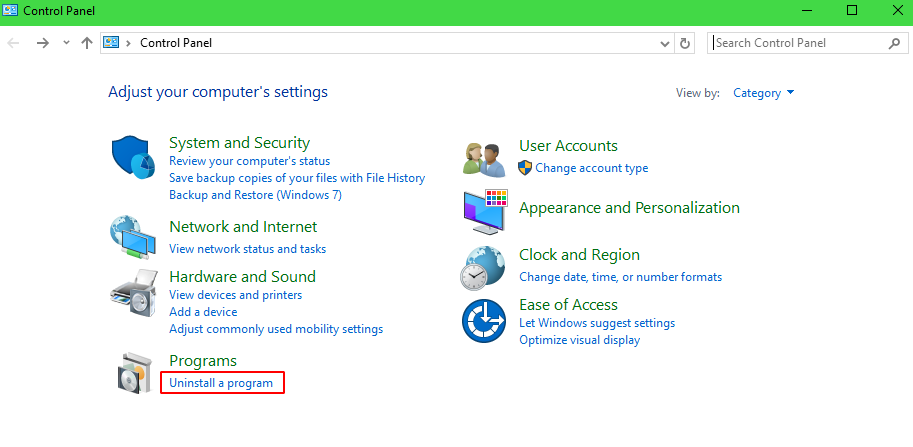
- Open Windows Control Panel
- Select “Uninstall A Program”
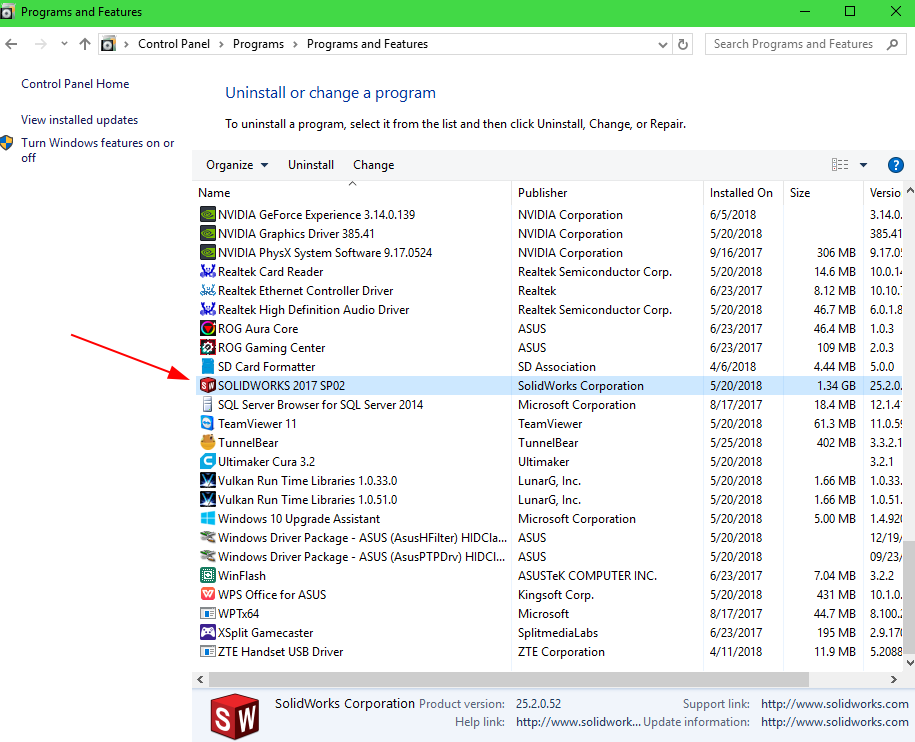
- Locate and select SOLIDWORKS
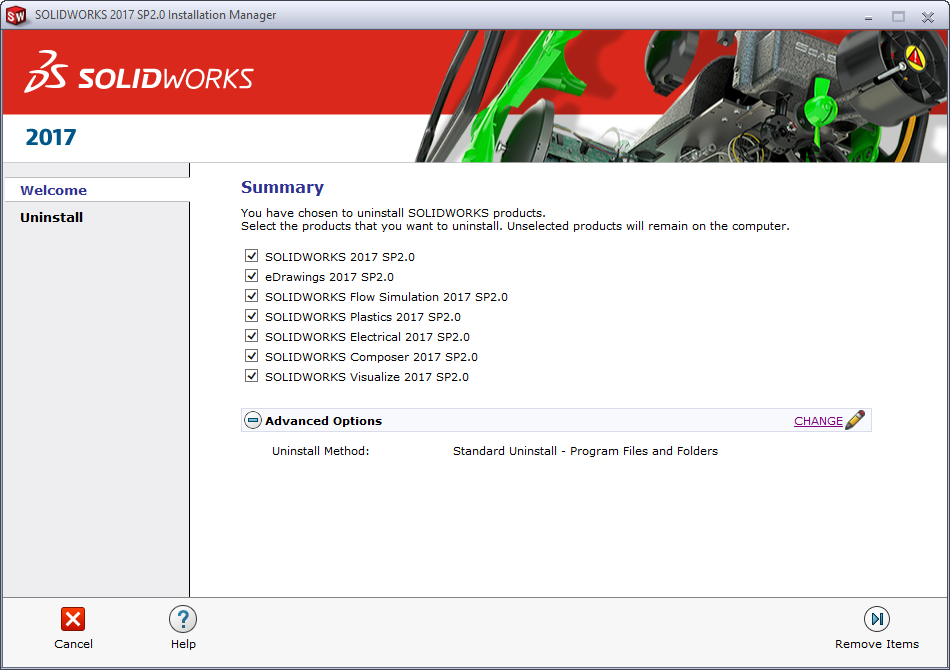
- Right-click and select “Uninstall”. The SOLIDWORKS Installation Manager will open.
- Verify that the Uninstall Method is set as standard and all checkboxes are checked.
- Click “Remove Items”
- Click Yes to deactivate your licenses
- Click Next. Your licenses will be deactivated.
- Click Finish
- The Installation Manager will begin uninstalling your installations. This may take a bit!
- Once finished, click OK.
- Restart your computer.
2. Install SOLIDWORKS#
- Open the document containing the current year’s licensure information. The 2018-2019 licensure information can be found here.
- Follow the instructions as listed in the document
- After downloading, open the file. An extractor should open
- Click "Unzip"
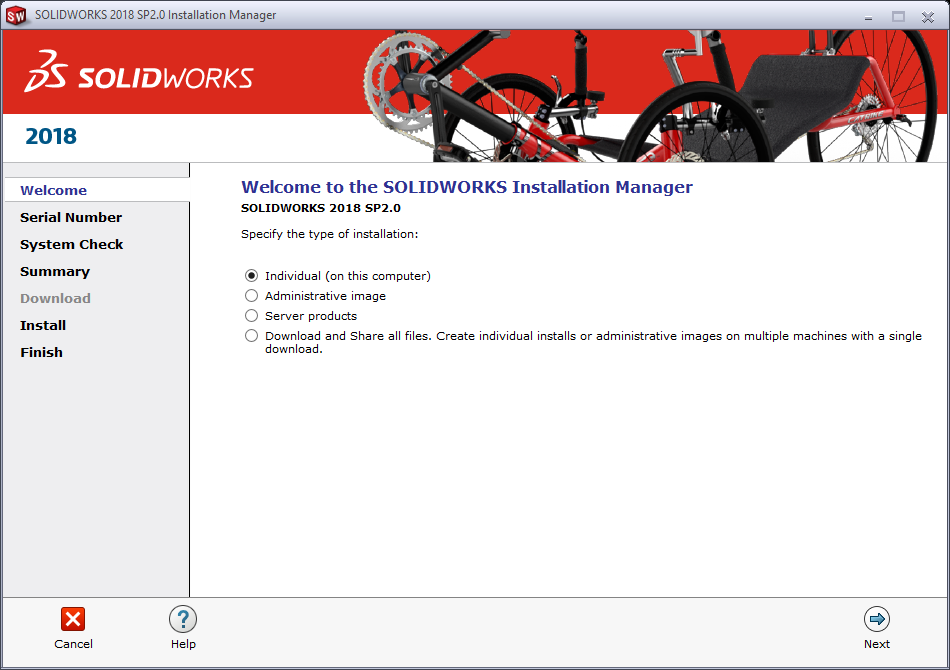
- Click OK. The Installation Manager should launch

- Specify “Individual (on this computer)” as the install type.
- Expand “3D Design”, “CAM”, and “Technical Communication” and paste the appropriate serial numbers into the “SOLIDWORKS”, “SOLIDWORKS CAM”, and “SOLIDWORKS Composer” sections from the licensure document.
- Click Next. A system check should run briefly
- The default download and installation options should be OK. Click the License Agreement checkbox and then “Download and Install”.
Possible Error
If you get an error like this, follow the given steps. Otherwise, continue from step 8.

- Click “CHANGE” on the Electrical Options. A new view will open
- Append an “_1” to the end of the SQL Server Name
- Select “Install a new instance of SQL Server”

- Click “Back to Summary”
- It will start downloading and installing SOLIDWORKS. This will take a while.
- Click “Yes, I want to join” for the SOLIDWORKS Customer Experience Improvement Program
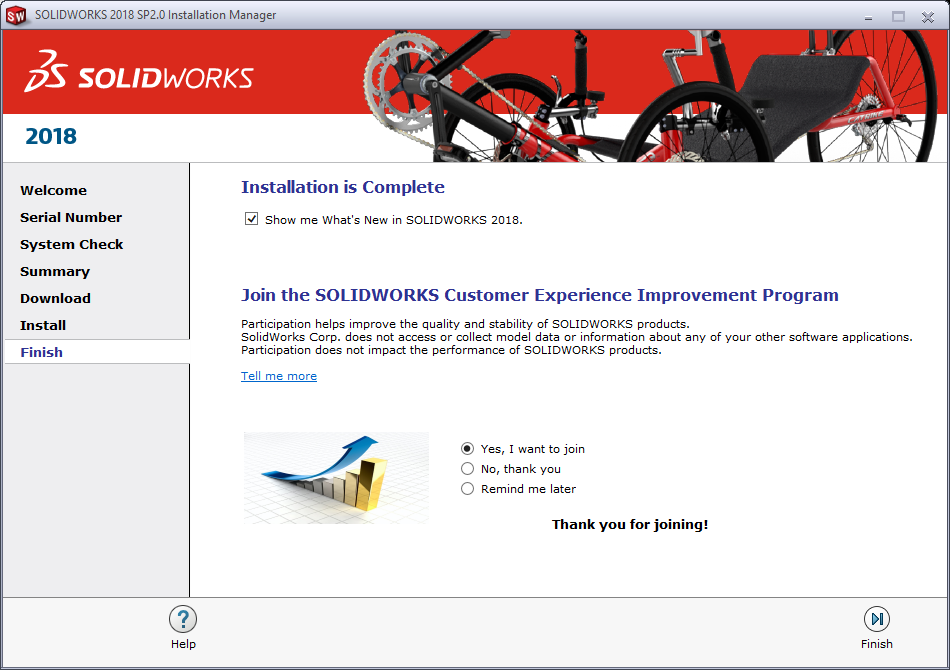
- Click Finish.
- Choose “Restart Later” and restart at your soonest convenience.
3. Setup SOLIDWORKS#
- Launch SOLIDWORKS.
- A popup may come up with menu/UI changes. Accept the new menu/UI changes.
- When the activation window pops up, select all and click next.
- Click Finish
- Accept any license agreements and popups that open.
- Once SOLIDWORKS launches, close it.
You're all done! You've successfully installed Solidworks on your system. Woo-hoo!